The SOP
The most important document you’ll get from 3M is the SOP (Standard Operating Procedure) that is tailored specifically for the exact IG and extrusion you are using in your project. That is the ultimate document to consult when re-glazing, but all SOPs follow the same basic seven-step procedure which are outlined below:- Clean the extrusion
- Prime the extrusion
- Apply the structural glazing tape
- Clean the IG unit
- Prime the IG unit
- Bring the IG unit and extrusion together
- Apply sealant at the corners
Cleaning the Extrusion
Place the deglazed extrusion on your workbench. Clean the surface where the tape will be applied using a 70% isopropyl alcohol (IPA) /water blend using a two towel method. The two towel method is simple. Take two lint free towels and fold them into fourths. Wet one lint free towel well with the IPA, and have a dry, lint free towel in the other hand. Starting in one corner, wipe the IPA on the extrusion and follow about 8 inches behind with the dry towel. Don’t do any more than two legs of the extrusion before you unfold the towel and expose clean sides on each towel. Finish the last two legs of the extrusion. If for any reason the towels are excessively dirty, repeat the cleaning step again.Priming the Extrusion
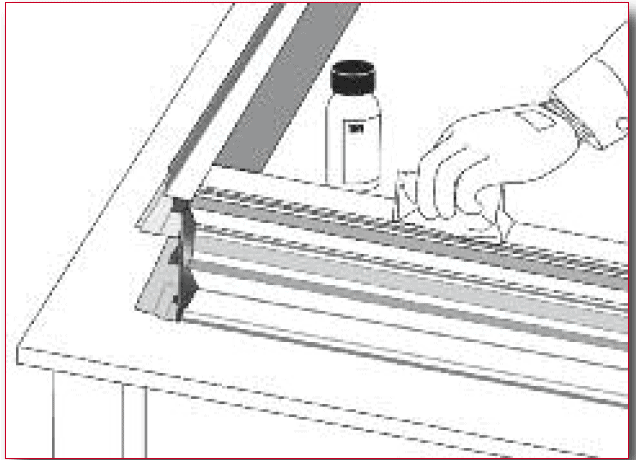
The most frequently used adhesion promoter is 3M’s AP111, but sometimes the SOP will specify Primer 94, depending on what paint system is on the extrusion. The AP111 can be applied via a dauber bottle, followed by a lint free cloth wipe, or you can wet a lint free towel and, using the two wipe method outlined above, follow the same procedure.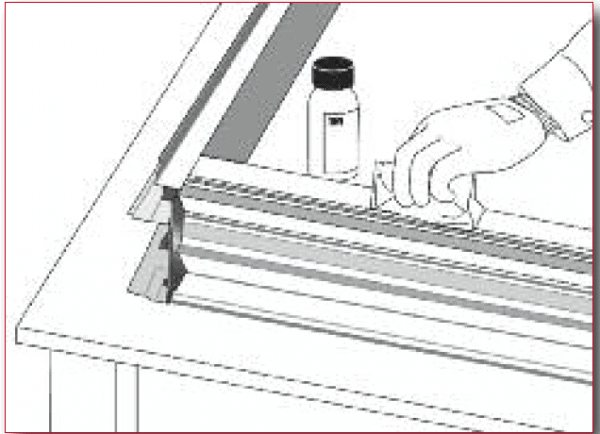
Applying the Tape
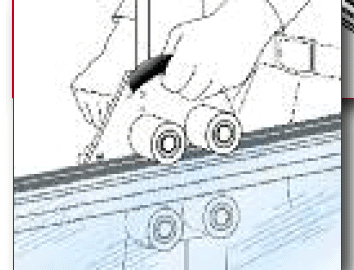
Once you have applied the adhesion promoter, you have about a 10-minute window to apply the glazing tape. (If for some reason you get called away for more than 10 minutes, don’t panic! Just start over again at Step 1, and you’re good to go!). Apply the tape down each leg of the extrusion using an HTA (Hand Tape Applicator). Here are two tips to help you: Don’t push down on the HTA; just pull the HTA lightly in toward the inside of the extrusion, and let the SGT unwind naturally from your other hand. Don’t try to keep the tape under tension, which can stretch the tape.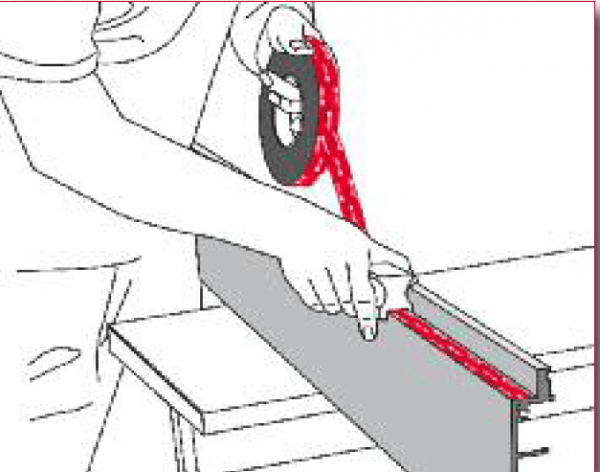
 You can set the extrusion aside at this point. If you’re going to apply the IG unit on another day, put a piece of masking tape over the butt joint at each corner to prevent the liner from lifting prematurely and hang the extrusion on a peg.
Cleaning the IG Unit
If you followed the deglazing procedure properly, you should have a fairly clean IG unit free of any excess tape or contamination. If you don’t, grab a lint free towel and wet it well with the IPA, cleaning the glass with an additional cleaning using a scrubbing motion. If your glass is clean, then you can go to the two cloth method as you followed in the extrusion step. Wipe all the way around each leg, doing two legs before unfolding and refolding your wipe, to a clean face before finishing the final two legs.Priming the IG Unit
The adhesion promoter, AP115, for the IG unit is chemically different from the AP111 used on the extrusion. But, like the AP111, the application method is similar. You can use a dauber bottle, or a wet a lint free towel using the two towel method again to apply the silane adhesion promoter.
Joining the IG Unit to the Frame
If you’re re-glazing a cassette system, you’re typically going to leave the IG unit lying on the workbench, applying the frame from the top. If you’re re-glazing a unitized system, you will likely have the extrusion lying on the workbench, applying the IG unit from the top, as the unitized frames are much deeper than the cassettes. In either case, once you have applied the silane adhesion promoter to the IG unit, you have a 10-15 minute window to join the frame and glass. In either case, wipe the red liner covering the tape with a lint-free wipe before proceeding, to make sure that no dust or contaminants are present.Cassette Specific Procedure
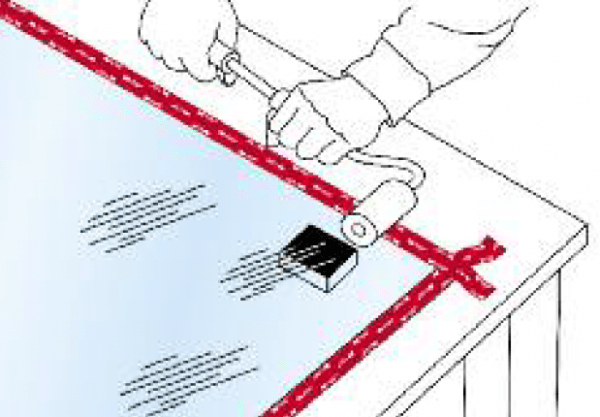
With the cassette, you’re going to do a process called ”pig-tailing.” This is a simple process where you take a blade or utility knife and flick up the edge of the red release liner from each corner, pulling away about 3 inches of the liner toward the center of each leg, as seen in the diagram below.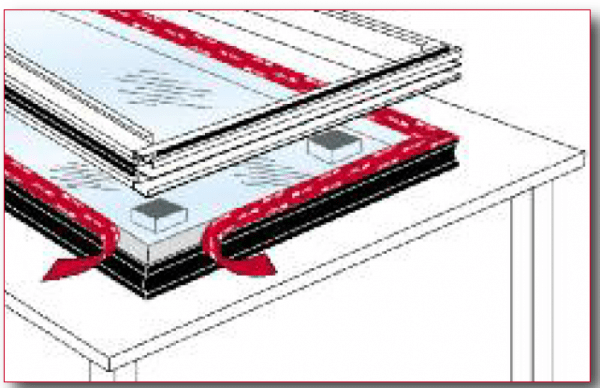
Unitized Specific Procedure
Since the unitized system will likely be larger, you will not be following the pig-tailing procedure as with the cassettes. You will completely remove the liner from each leg of the extrusion and then lift the IG unit using a suction cup device to safely lift and move the IG unit into place as in the diagram below.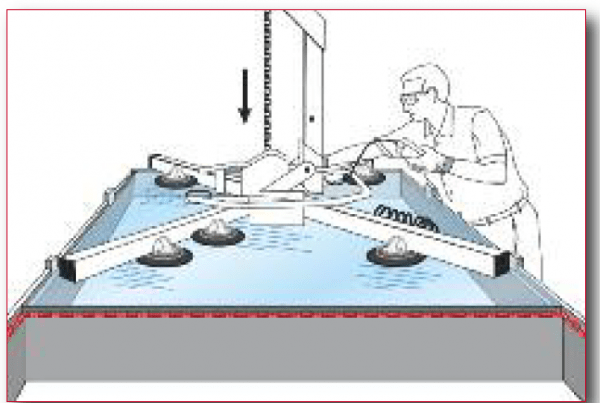
Apply the Sealant at the Corners
The last step is to gun a thin bead of sealant around each corner (3-4” around each corner) of the frame where the tape/frame/glass interfaces, and tool it into place. This can be done with specific spatula-type sealant tools, a wooden tongue depressor, or if all else fails, your fingers. A one part, neutral cure silicone sealant is preferred, but any gun-able waterproof sealant will (technically) work.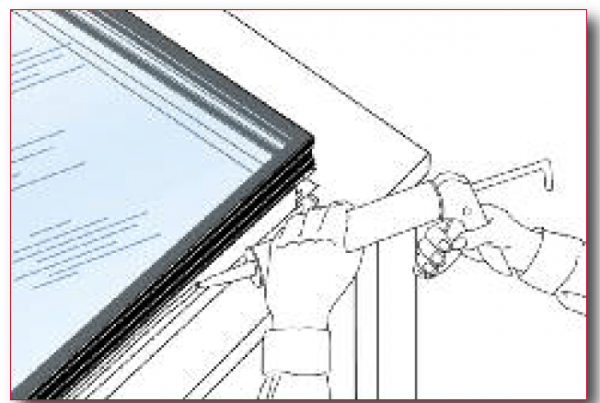 You’re done! With just a little practice, a cassette can be deglazed and re-glazed in under an hour. A larger unitized system will take a bit longer. Still have questions? Contact Steve Sherman at PVD (www.projectvisiondynamics.com) or Rick Alexander at Tom Brown, Inc..